I did a completely new workshop (and related talk) at Confab this year. By completely new, I mean:
- Not upcycled from a talk I’ve already given
- Not an evolution on a previous talk or workshop
- Not based on a blog post or other writing
So new, new, new. It was a lot of work.
Confab Tenessa (her actual legal name, believe it or not) asked me to do a workshop that responded to the strong interest she gets on the topic of user journeys and customer journeys. I was game, but I knew I didn’t want to simply teach “how to create a customer journey map 101”. For one thing, that’s often not the right solution. For another thing, it’s not an area I have direct deep experience in. So I took it and turned it a little and my premise became: use the excitement around user journeys and experience mapping as bait to hook people into a workshop about being more user-centered in the content strategy work they’re already doing.
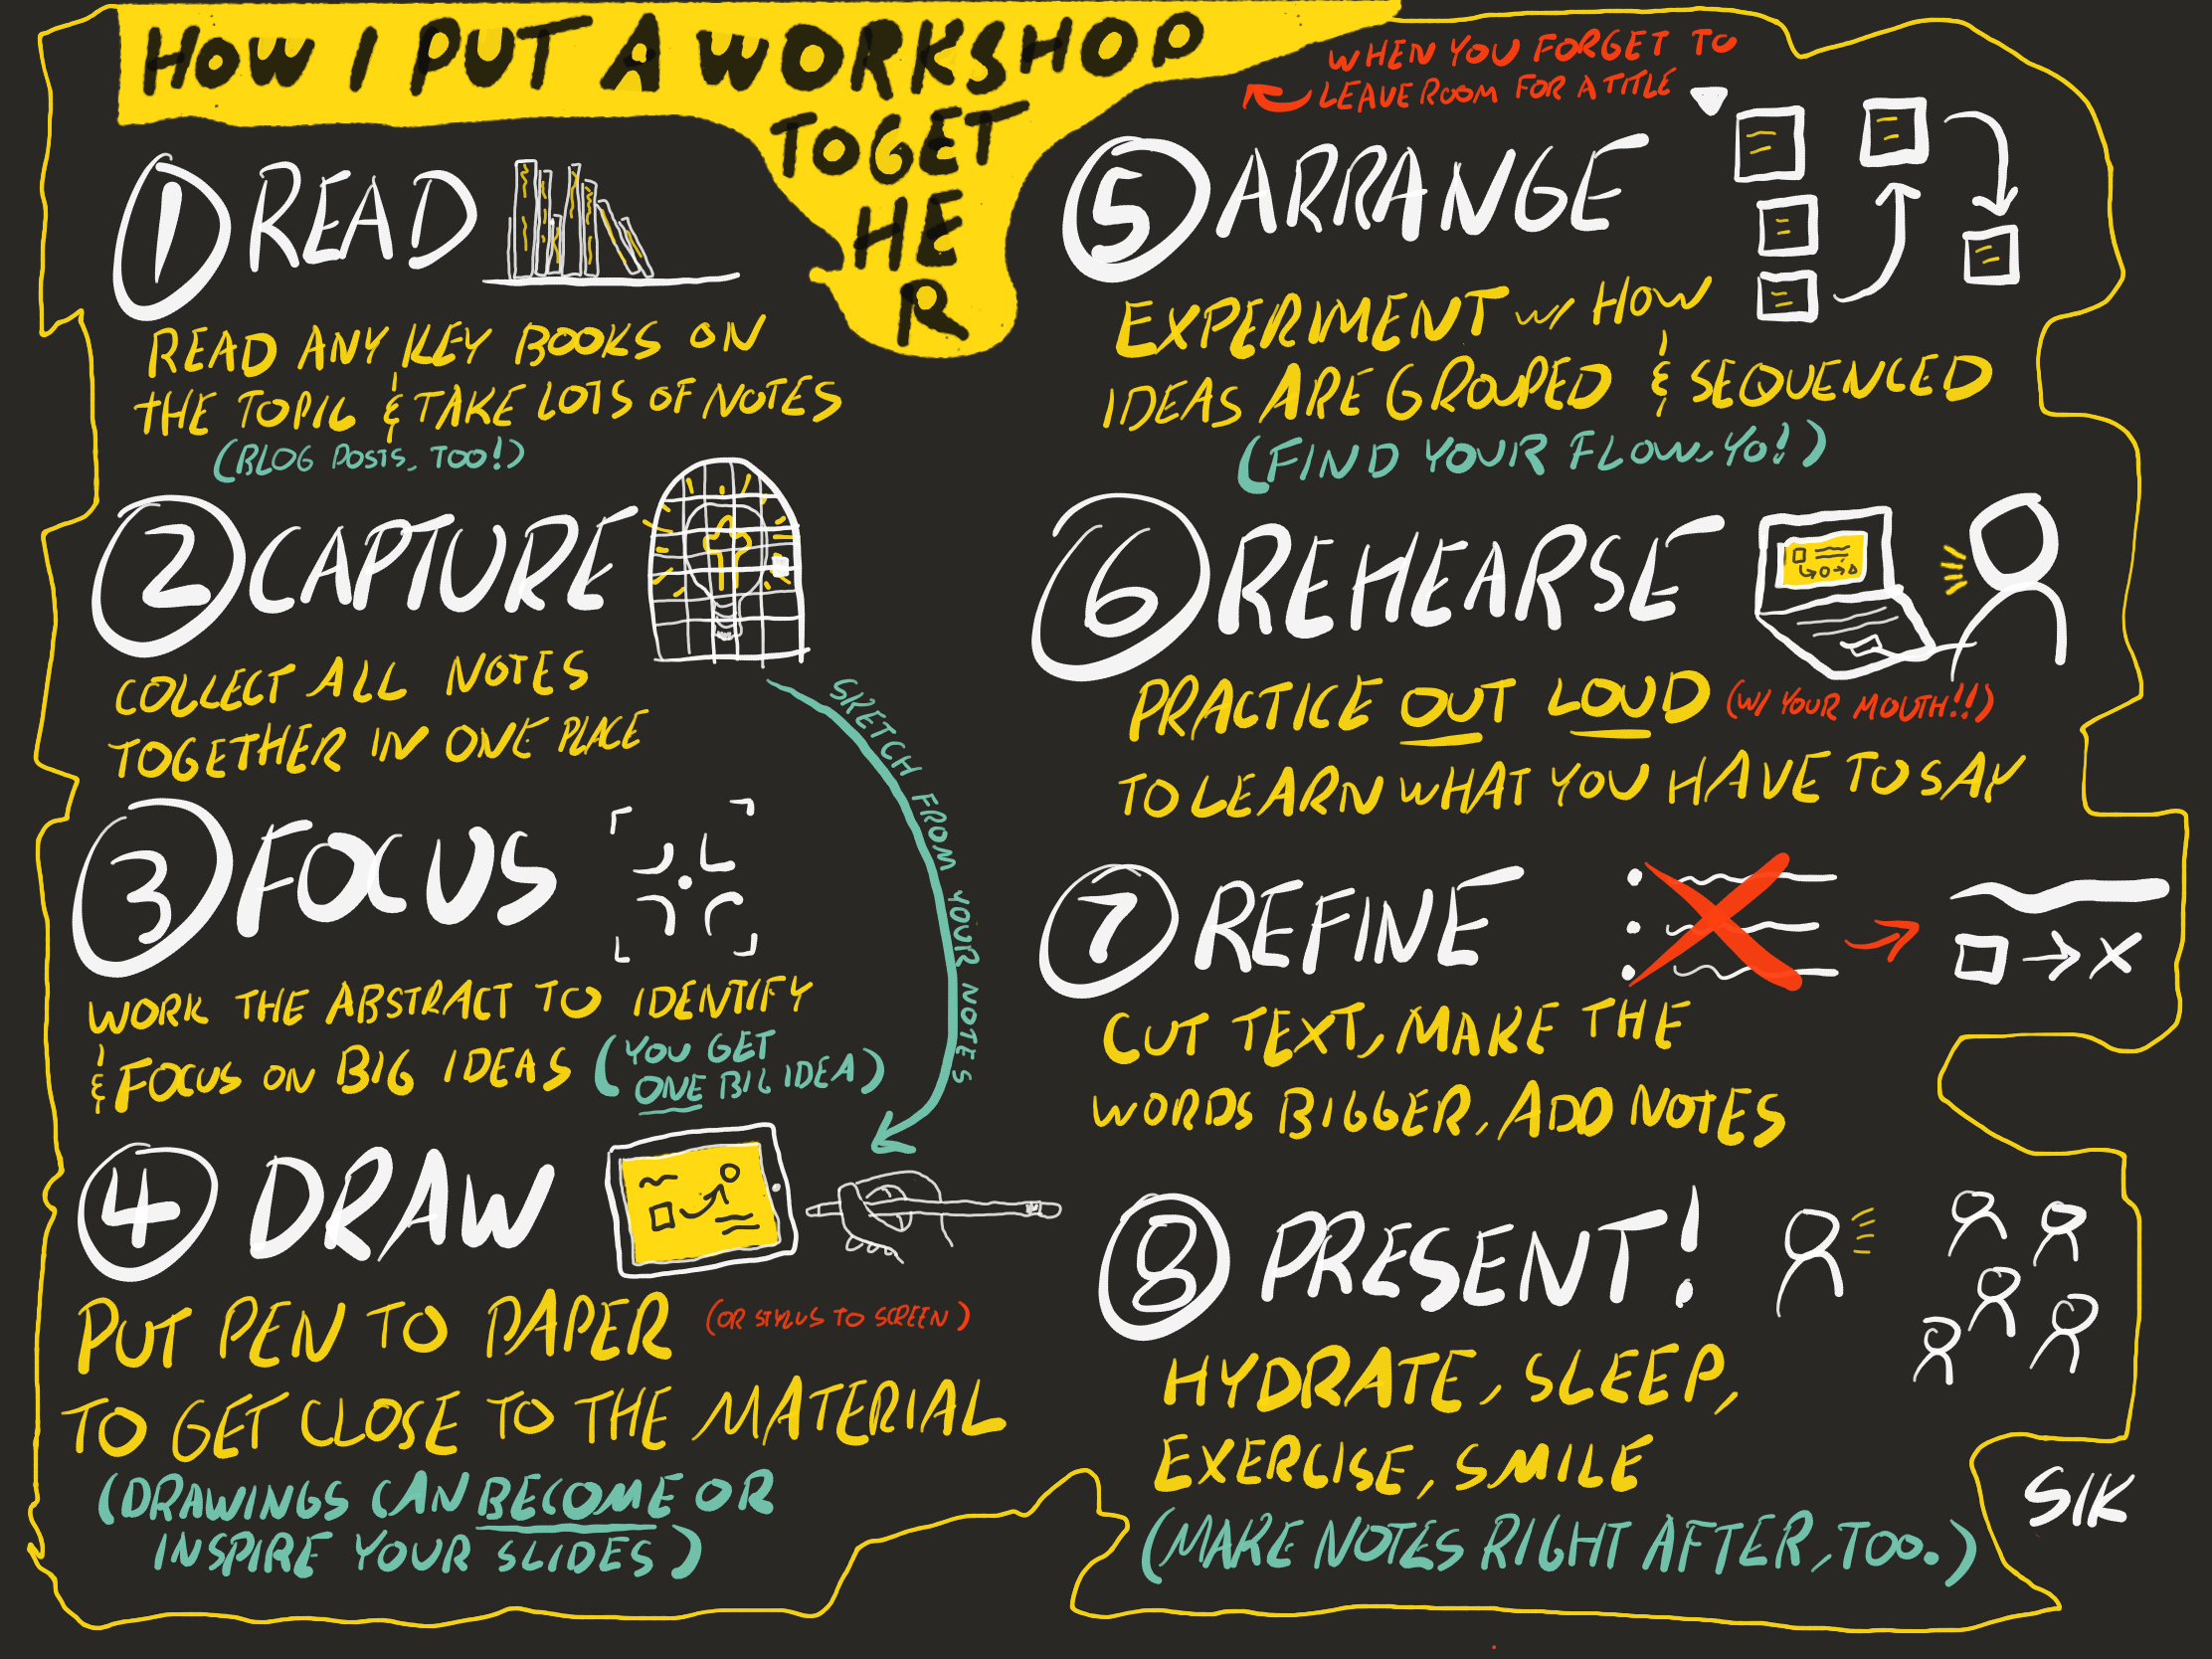
These were the major steps in my process:
1. Read lots of books
All design tools are made-up, yes, but a lot of what’s been made-up has also been written down, so we might as well start there. I read a few new books and revisited some old ones to get a fuller landscape of user-centered design tools planted in my head. I wanted to lean on books in particular (as opposed to blog posts or my own reckonings) to anchor the material in current literature and help ward against semantic diffusion.
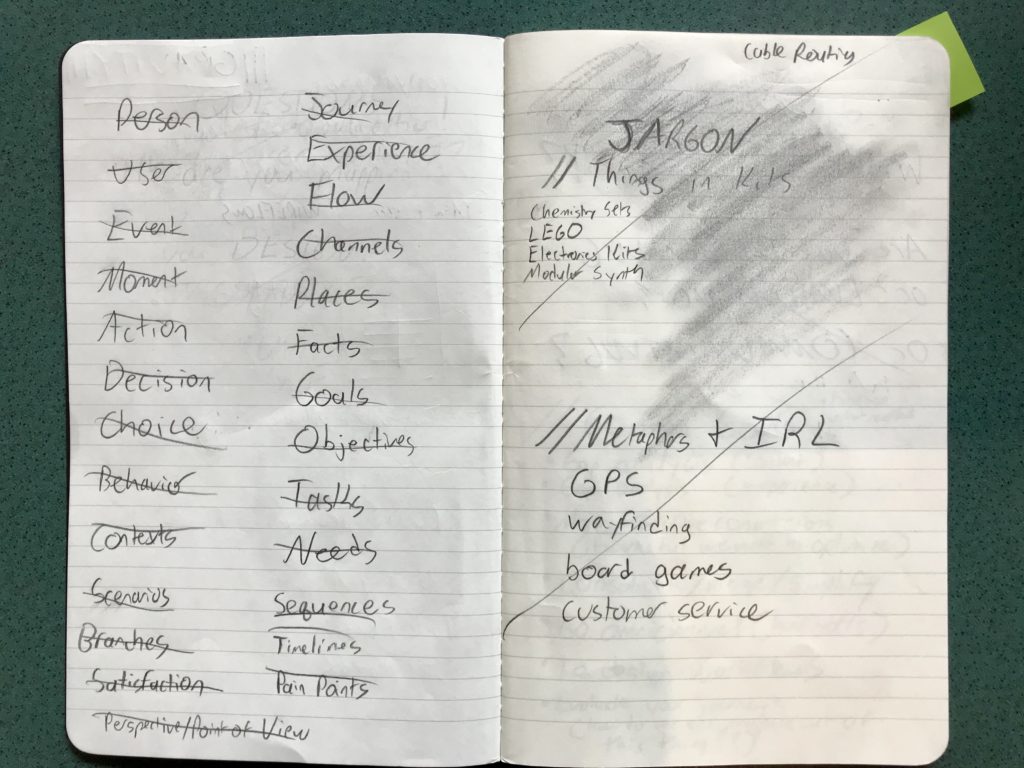
2. Capture all my notes in a single-purpose analog notebook
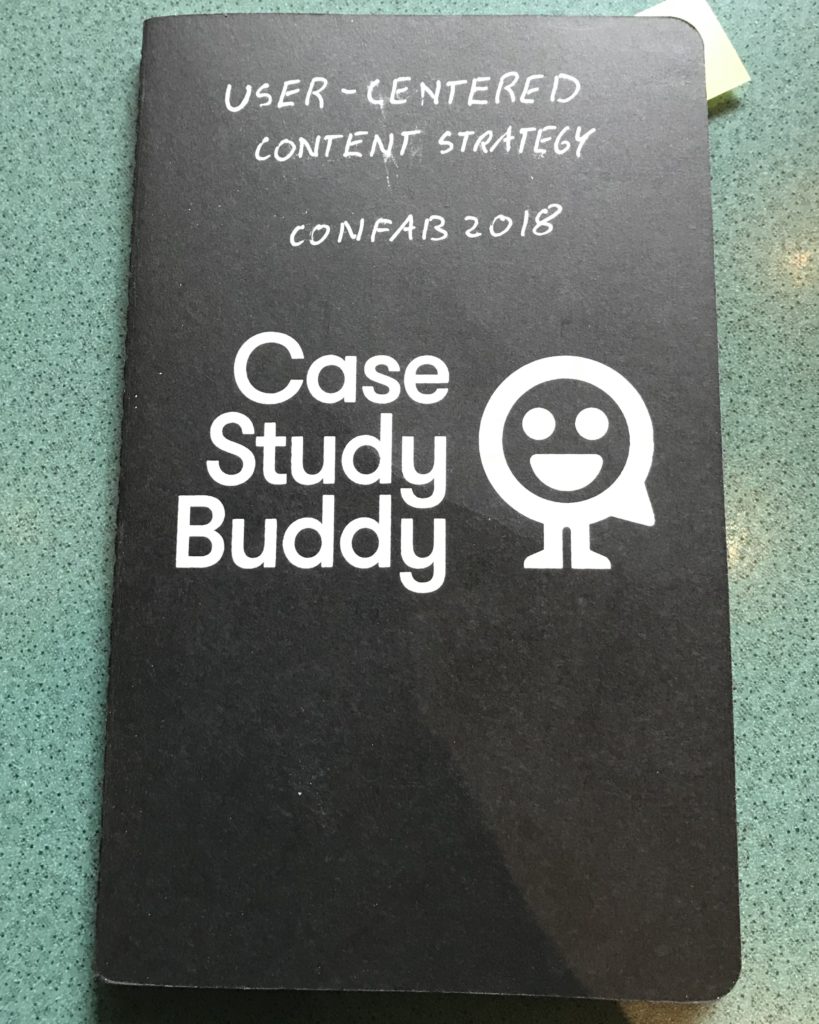
This was a change from my usual approach. I normally take notes into an outline-style mindmap document. This time I wanted to stay more open and have more room to play and sketch. I had even less idea than usual what would be valuable and where I was going to go with it. Paper is more workable. You can scribble stuff out, cross things off, circle and highlight. Mindmaps are faster, but I didn’t need fast this time, I needed flexibility.
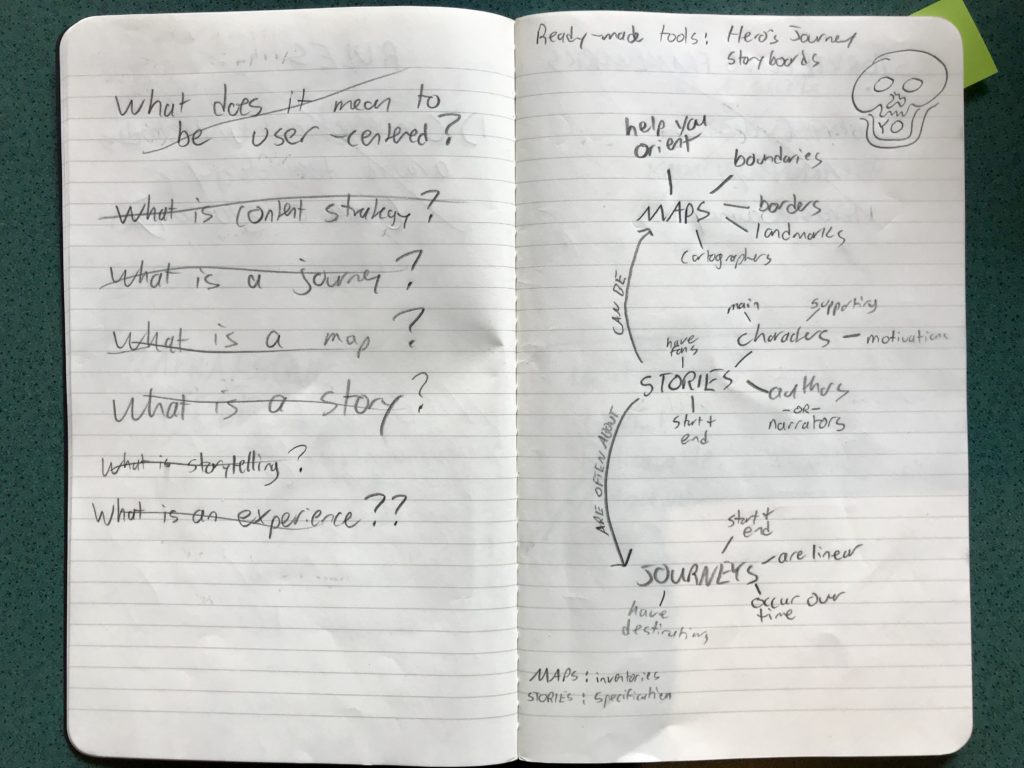
Having the notebook also helped the workshop prep feel compartmentalized from other projects. I kept it on top of the books I was working from in a tidy little pile, and I knew it was workshop work time when the notebook was open. Taking analog notes also cut down on digital distractions.
3. Use my whiteboard and abstract to focus on the big picture
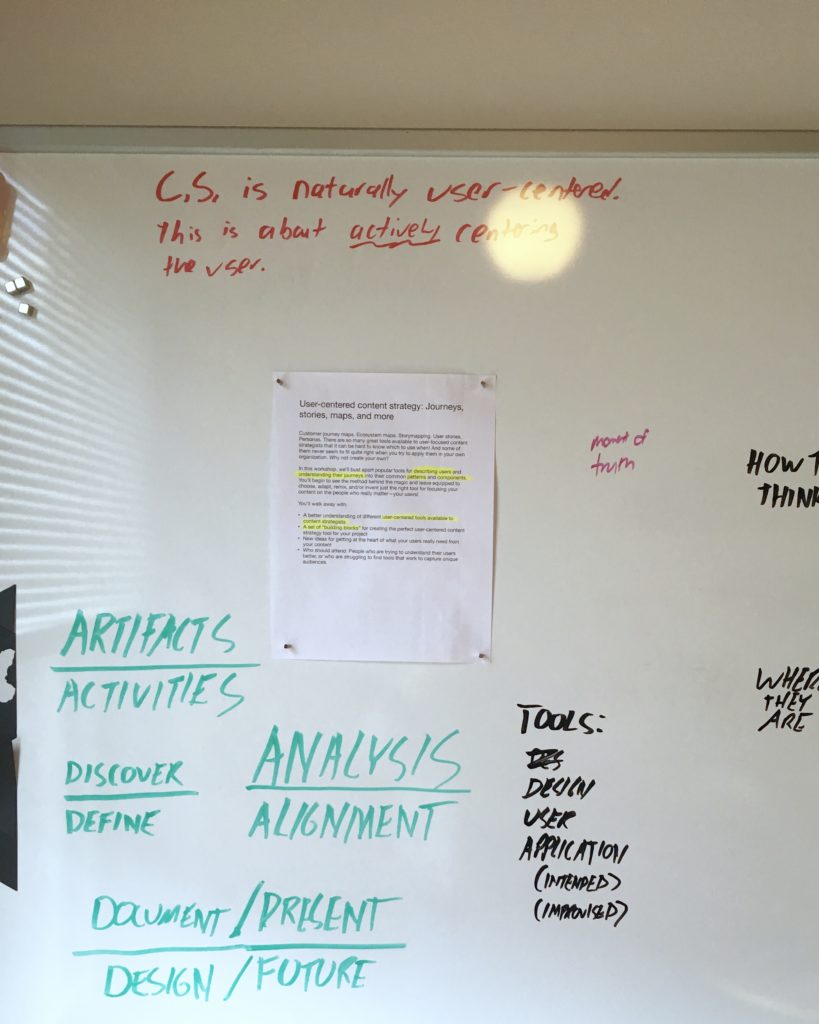
Trust me: you do not want to put in weeks of work only to re-read the abstract toward the end and think “Oh shit. Thaaaaaat is not what I’ve been working on.”
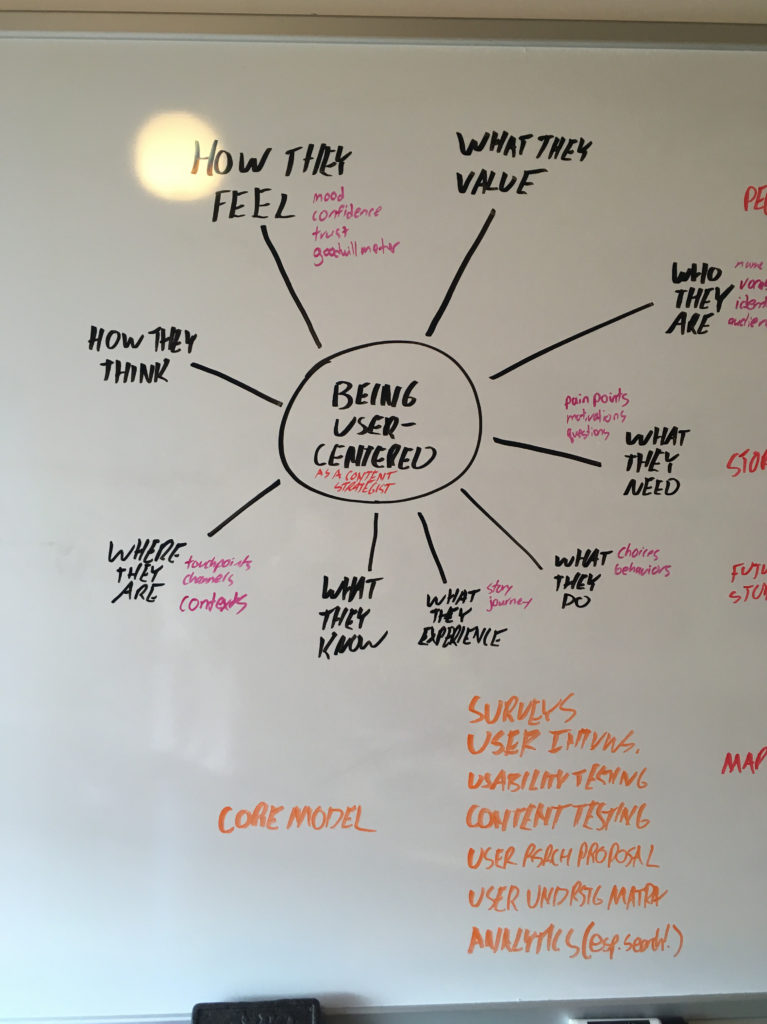
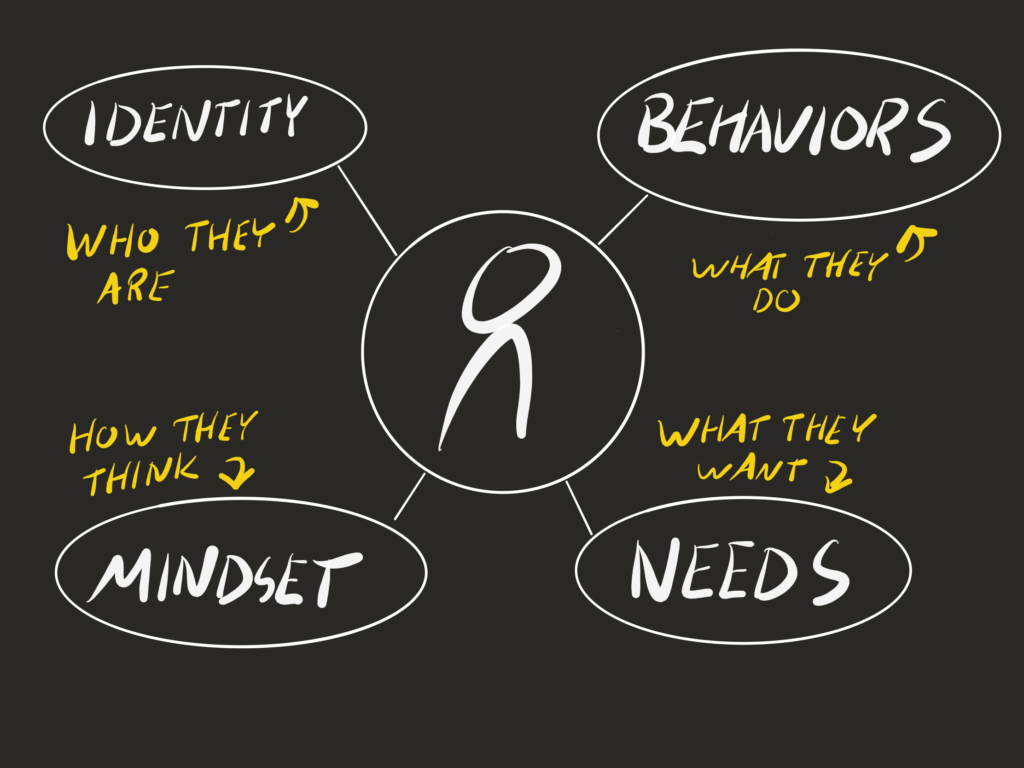
I printed and taped my abstract to my whiteboard and worked over it to put some weight behind the main ideas and give myself some points of focus throughout the rest of the process. The big diagram in the center, for instance, got refined into a simpler slide when it came time to draw the deck.
Having big ideas on the whiteboard helped keep me moving. It was a place for my eyes to land whenever my brain unhelpfully interjected “Wait, what the fuck was this workshop about?”
4. Draw out my ideas (literally and figuratively) in the Paper app
Drawing slides put my brain in a different mood than assembling them in Keynote. Every slide was a blank slate. Did I want to make one big point with a few big words? Or break something down in detail? Would this idea be best expressed with words? Or a visual metaphor? Or a sketched representation of the actual thing?
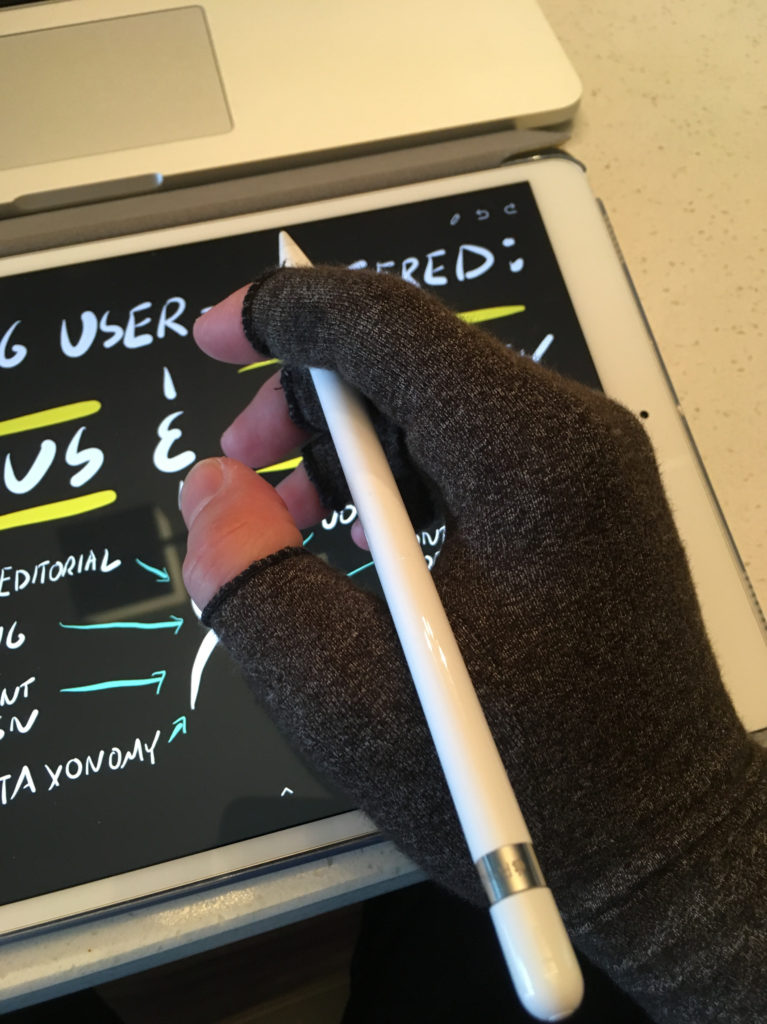
I initially thought I would just use Paper to do a few illustrations and/or hand-lettered quotes, but I was really enjoying myself and ended up drawing every single slide.
In hindsight I might have used a different app with layers and more flexibility to make changing things easier, but it took less time overall than you might imagine. Drawing means you’re not fussing with guides and grids and alignments and fonts. Being able to sketch whatever I wanted also meant no time hunting for photos and graphics.
Drawing the slides was also a great excuse to practice sketching and lettering. My work on the slides was spread out over a period of no more than three weeks, but I can tell at a glance which ones I did first and which ones I did toward the end.
5. Arrange and find structure in Keynote
After finishing what I imagined to be 2/3 of the slides, I exported images from the Paper notebook to Dropbox. I then set the Keynote presentation to a custom size that matched the default output size from Paper so I could directly drop in images as new slides without having to adjust anything.
I then played around with sections and structure in Keynote, adding transitions here and there and just kind of getting a feel for the flow of everything. I leaned heavily on the ability to nest slides into sections in Keynote’s navigator. Unless I’m giving a very short talk my slides are always organized into sections, even if the sections are not called out explicitly during the session.
When I found need to revise a slide or add a new one, I would sketch it quickly in Paper and send it to my laptop via AirDrop. Easy-peasy.
6. Rehearse out loud to figure out what I had to say
Once I had most of the slides in, I did a couple of fast play-throughs (just looking at all of the slides in sequence) and added presenter notes as things occurred to me. I’ve found that talks and workshops flow better when I make notes in small batches across big sections, rather than getting focused in on a particular slide or talking point.
I use presenter notes for self-coaching and to capture any details I’m afraid I’ll forget. I try not to make them too dense, and I intentionally leave out some of the bigger, more mentally-available ideas and anecdotes because I don’t want to accidentally be reading them instead of presenting them.
7. Tweak and refine
I channeled my usual last-minute anxiety about the workshop (and the talk version of it I gave a few days later) into improving the quality of slides I already had: primarily, re-lettering words to make them bigger and (somewhat) easier to read. In most cases I would flip to the original illustration in Paper, duplicate it, erase any words that I wasn’t loving, and give them another go. Then AirDrop, drag and drop, save.
8. Give the workshop!
I felt vulnerable using lo-fi, sketched-out slides, but I managed to only make one joke about it. I put a link to the slides on the screen as people came in the room so they could find them on Slideshare and follow along (in case anything was difficult to read).
In facilitating this workshop, I discovered a major advantage of my approach I didn’t expect: I knew the material really well. Every drawn slide was like an icon in my mind that helped me recall what I’d read about it, what information I decided to include or not include, even the point in my process where I added that knowledge to my stack. I felt much more confident about the topic than I had any right to be, and the workshop was so much the better for it.